It is not often I make desserts, but when I do, I try to ensure they involve as many of my favourite ingredients as possible. As soon as I saw this pie, I knew it was meant to be. Chocolate? Good. Peanut butter? Goood. Cream cheese filling and pretzel base!? Gooooooood!
I originally came across a version of this pie on Come Dine With Me (which is on in our lounge 90% of the time) and when Dave Lamb listed all the ingredients, I suddenly started paying a lot more attention. The actual recipe was on the Channel 4 website but as with all CDWM recipes it was a bit wishy washy and this, coupled with the fact that under every entry Channel 4 writes something about how none of the recipes are tested so you could be gambling just like the contestants on the show, slightly put me off. I set my sights on finding a more refined version on t’interwebs.
And this is it! Nadia G’s Peanut Butter Pie from her show Bitchin Kitchen, which is coincidentally starting on Food Network in the UK tonight! I got really excited when I saw the advert as I’d spent all week obsessing over this pie and reading reviews, blogs etc of the show and her book. She seems like a pretty hilarious chef and her book has got great reviews so I’m excited to watch her show later on.
So, the pie. The recipe can be found here, although I did tweak it slightly as I found the ingredients weren’t enough to fill my pie dish. Disaster. Although, not really, as I ended up almost doubling the recipe so we were eating chocolate peanut butter cream cheese pretzel pie for days, which is in no way a bad thing. Although it is quite bad for my diet. Which ended on or about January 3rd, but that’s another story.
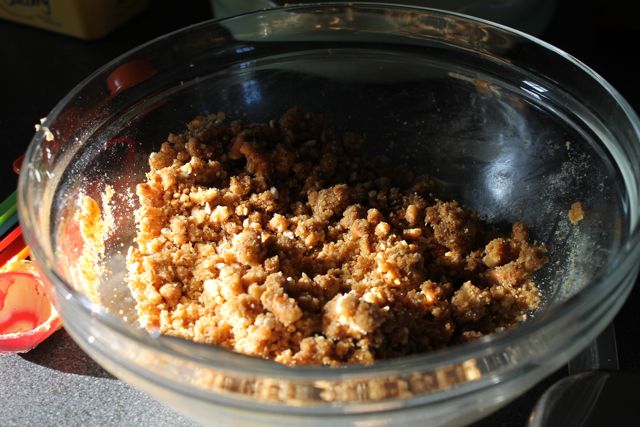
The pie crust consists of whizzed up salted pretzels, brown sugar and melted butter. Do pie crusts really get any better than that?
Not sure why I took a photo of this, possibly to show my delightful tablespoon/teaspoon measuring cups?

Here is the pie crust, all mixed together. This is when I ran into difficulties; I realised this was not going to fill my pie dish so I added more and more pretzels, butter and sugar until it seemed like a good amount.
I then smoothed the mixture into the dish and all up the edges to form a lovely pretzel-y crust.

See?

I popped that into the fridge to chill while I worked on the peanut butter filling. This is a no bake pie, so all it involves is a bit of chilling!
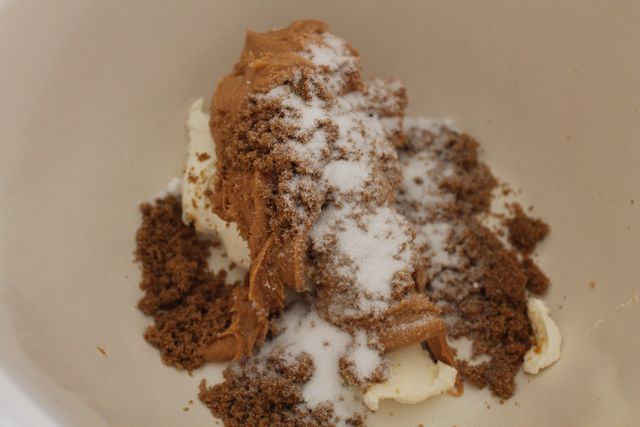
The peanut butter filling consists of smooth PB, cream cheese, whipped cream and brown sugar. Again, I wasn’t sure the amounts would fill my dish so I doubled them. I got to use my brand new American measuring cups which Ben bought me in Asda and make me feel like the Barefoot Contessa. ‘Add a cup of heavy cream!’ etc. She says that all the time, trust me. (Barefoot Contessa is on in our lounge the 10% of the time Come Dine With Me isn’t.)
All the goodies in the bowl!
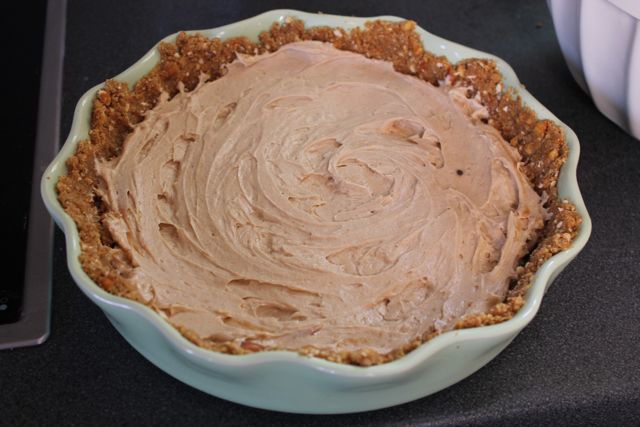
I mixed all these up and then carefully folded in the whipped cream. The recipe calls for 35 percent whipping cream but I just used double and it worked fine. When I was finished, I swirled the peanut butter filling into the pie dish, put it in the fridge to chill and started my final layer, the chocolate whipped cream.
This required the melting of cream and chocolate in a bain-marie which I then chilled for a couple of hours in the fridge, before whipping together using my little hand mixer. I spread the mixture on top of the pie dish and ta da!
I took it to our friends’ house that we were staying at over the weekend and I have to say, with the chocolate shavings on top I was pretty impressed with how it looked!


And I was even more impressed when it actually held together as I sliced it!

The pie itself was incredibly rich and creamy; I don’t actually enjoy fresh whipped cream all that much (I know, I’m weird) so it wasn’t really the ideal dessert for me. But, our friends absolutely loved it and even my peanut-butter-hating boyfriend enjoyed his slice, as well as the second he had a couple of days later! The peanut butter flavour wasn’t quite strong enough for me to be honest, I feel the cream really overpowered it and I’d like to be able to really get a proper, intense, OMGPEANUTBUTTER hit of PB. I didn’t realise it’d be quite so creamy when I first read the recipe.
I’ve got an idea in my head that seems to be more tart than pie, with layers of pure peanut butter, chocolate ganache and a crunchy pretzel/digestive biscuit base. So I might try that out soon, once we’ve recovered from the calorific bomb that was this dessert. I recommend the recipe though, just be prepared to tweak it to make it fit your pie dish. And add more peanut butter!